
Guide to Backpacking Paria Canyon

It’s hard to put into words how incredible this backpacking trip was. But I will attempt to recall my visit and articulate the grandeur that is Paria Canyon. Featuring tall sandstone walls towering above you with desert varnish streaks throughout, large natural red-rock amphitheater, arches, and petroglyphs. It is considered one of the best canyon backpacking destinations in the world.
Paria Canyon is located near the Utah/Arizona border in Paria-Canyon Vermillion Cliffs Wilderness. You can start at one of the trailheads in Utah and end at Lee’s Ferry in Arizona or do it in the opposite direction and hike upstream.
I’m going to primarily be discussing the route I took which was entering by Whitehouse Trailhead near Kanab, UT, and exiting via Lee’s Ferry in AZ. The route is around 38 miles however it’s nearly impossible to truly say how much we hiked. It’s important to note that hiking through a river is slow, especially when water levels are high. The route goes in and out of a streambed following a winding canyon so there isn’t a specific “trail” but rather a general direction that you follow. Not to mention all the side quests to explore petroglyphs, arches, and historical artifacts.
Trailheads
Whitehouse TH (40 minutes from Kanab, UT and Page, AZ)
The most popular option. It’s a beautiful start and after about 8 miles of hiking you’ll reach confluence of Paria and Buckskin- you can then set up camp and still have time to explore the incredible slot canyons of Buckskin.
Wirepass TH (1 hour from Kanab, UT and Page, AZ)
A fun option if you want to explore most of Buckskin Gulch which is the longest slot canyon in all of North America. It is 13.2 miles to reach the Paria Canyon Confluence. This is where you’ll find the first camping options. High water levels and narrow obstacles can make this for a very strenuous first day on trail.
Buckskin TH (45 minutes from Kanab, UT and Page, AZ)
The longest option requiring a 16 mile day to reach the confluence of the Paria River. For Wirepass or Buckskin TH it’s important you check with rangers at the visitor center for the latest updates on water levels and conditions.
Lee’s Ferry (Page, AZ)
This is the ending point and my recommended route because hiking downstream is significantly more enjoyable. Plus it’s really cool to take a plunge in the Colorado River after your big adventure. You are certainly welcome to start here and hike upstream though if that’s your jam!

Best Time of Year
I went in mid-May, and according to the Rangers who oversee this area we had the most incredible window of weather. Because when we talk about visiting Paria Canyon, the weather dictates whether you will be going or not. Some narrow canyons and slots would make this very dangerous when raining. Flash floods are a SERIOUS risk and can result in death.
This is one of those trips where regardless of how long you’ve been looking forward to going, if the forecast says nay then you suck it up and reroute your adventure elsewhere. You have to respect Mother Nature and accept it. Monsoon season is typically June - early September but you should always check the forecast even when planning to go during the shoulder months of Spring and Fall.
With that being said, do try and plan this trip during Spring and Fall lol. The temperatures will be more tolerable and it is far more likely that the weather cooperates and is spectacular.

Buckskin Gulch
My group and I completed this trek in 5 days which left us with plenty of time to relax, roam, ponder, and soak in all the beauty of this beautiful landscape. I think a strong hiker could undoubtedly complete this in 3 days but it’s just one of those places that shouldn’t be rushed. It’s too beautiful and sacred not to slow down and find yourself engulfed in the presence of the canyon.
Paria Canyon does have a permit system in place through BLM which is limited to just 20 people per day. They are non-refundable and there are no rainchecks. The reservation fee is $9 and then $5 per person or dog per day. The permit window opens up 3 months ahead of the date desired. For example, if you are hoping to score an October 1st permit you would want to apply July 1st at noon MDT. I know permits can be a turnoff, but I support this system because it’s not a lottery. It’s first come first served and limiting the amount of visitors to this wilderness area is crucial to preserving its recreational use for the future. When I was there we BARELY saw people. It was so neat to feel complete solitude and connection with nature.
Overnight permits —> https://www.recreation.gov/permits/74984

Consider shuttle logistics as this is a point to point thru hike. If you are going with a group you should arrange to drop one vehicle off at Lee’s Ferry and start at Whitehouse TH. If you are considering hiring a shuttle service I would still recommend leaving your vehicle at Lee’s Ferry and having the shuttle take you to Whitehouse TH. It’s much better to end at your car than have to deal with the logistics of the shuttle a few hours back to where you started.
Trip Report
Day 1- White House TH to the confluence of Buckskin Gulch.
Buckskin Gulch is the longest slot canyon in all of North America. You can start at Wirehouse Pass TH instead and connect right to Buckskin Gulch hiking 13 or so miles to the confluence of Paria Canyon. We hiked a couple miles into Buckskin Gulch, set up camp, and then explored a few miles down Buckskin taking pictures at golden hour with no packs. We did have to pull from the stream in Buckskin which usually is full of sediment and you would need Alum before filtering. We got lucky because it was super clear for us.
Day 2- Continue down Paria Canyon for 9ish miles.
We spent the day slowly meandering through this canyon as we took pictures, had snack breaks, and pulled water STRAIGHT from the Big Spring. We pulled enough from Big Spring to have enough for that day, dinner, and to sustain us for the majority of our hike the following day. Eventually, we found camp in an alcove and had a sweet siesta before dinner.
Day 3- We hiked 12ish miles to Shower Spring.
But we also found petroglyphs on our way and went on a 3-mile side quest to check out Wrather Arch which is a huge cave-type of arch located in a side canyon. Very cool and worth the scramble up to get a better view of this geologic feature. It should be noted that camping is prohibited in the side canyon leading to Wrather Arch. We set up camp just across from Shower Spring which hosted a very large site and an excellent place to stargaze at night.
Day 4- We hiked around 13ish miles and this is where the geology really changed.
The Chinle formation began to appear as the canyon widened and there were a lot more paths leading to high ground. We gained some elevation here as the terrain changed to rocky obstacles and the river narrowed revealing small cascades.. There were so many petroglyphs and pictographs on this day that it was a really fun challenge to find them.
Day 5- We had about 5 miles to hike to Lee’s Ferry.
In theory, I think we could have pushed on day 4 but that would have been a really big day. We had a shuttle arrangement so there was no point in doing that.

Gear Considerations for this trip:
The big 4- tent, pack, sleeping bag, and sleeping pad. I used my Big Agnes Tigerwall 2 tent, Hyperlite Unbound 55, REI Joule 25, and Nemo Tensor sleeping pad. Most nights I slept with the sleeping bag open and rain fly off and although I love to cowboy camp I wouldn’t recommend it due to the insects, scorpions, and mice that frequent the area.
Trail runners- Make sure you have lightweight breathable sneakers that drain the water. I wore Altra Timp 5s. I know it’s tempting to wear chacos, tevas or keens but TRUST ME you want trail runners. This will be the most comfortable and practical.
Neoprene socks- You can get really light and cheap ones on Amazon. 10/10 recommend. They will keep your feet warm and keep the sand out of your socks if you buy them high enough. Helps prevent blisters and provides comfort. I wore wool socks one day to compare and I preferred the Neoprene because of how they kept the sand out.
WAG BAGS- Y'all this is just required by BLM and you should follow the rules because this riparian ecosystem is fragile and your poop cannot break down there. So don’t be nasty and bring those wag bags, carry it out, and do the right thing for Mother Earth!
Water Filter- Because I was in a big group we used an MSR Gravity Filter. There are a few springs along the trail you’ll see coming out of tall ferns. This is the best place to pull water.
Alum or Water Wizard- You need to be prepared to pull from the Paria which has a lot of sediment. Alum or WW is a treatment that will separate the sediment from the water so you may filter the clear top layer for cooking and drinking. If you don’t use this then say goodbye to your filter because it will become extremely clogged. Also make sure you have a foldable bucket to let your water sit and go through this separation process. I would also recommend a pump filter to pull the clear water from the top of your bucket. Using a dip cup, we found after a full careful pulls from the top, the sediment would get agitated and disturb our clear top layer.
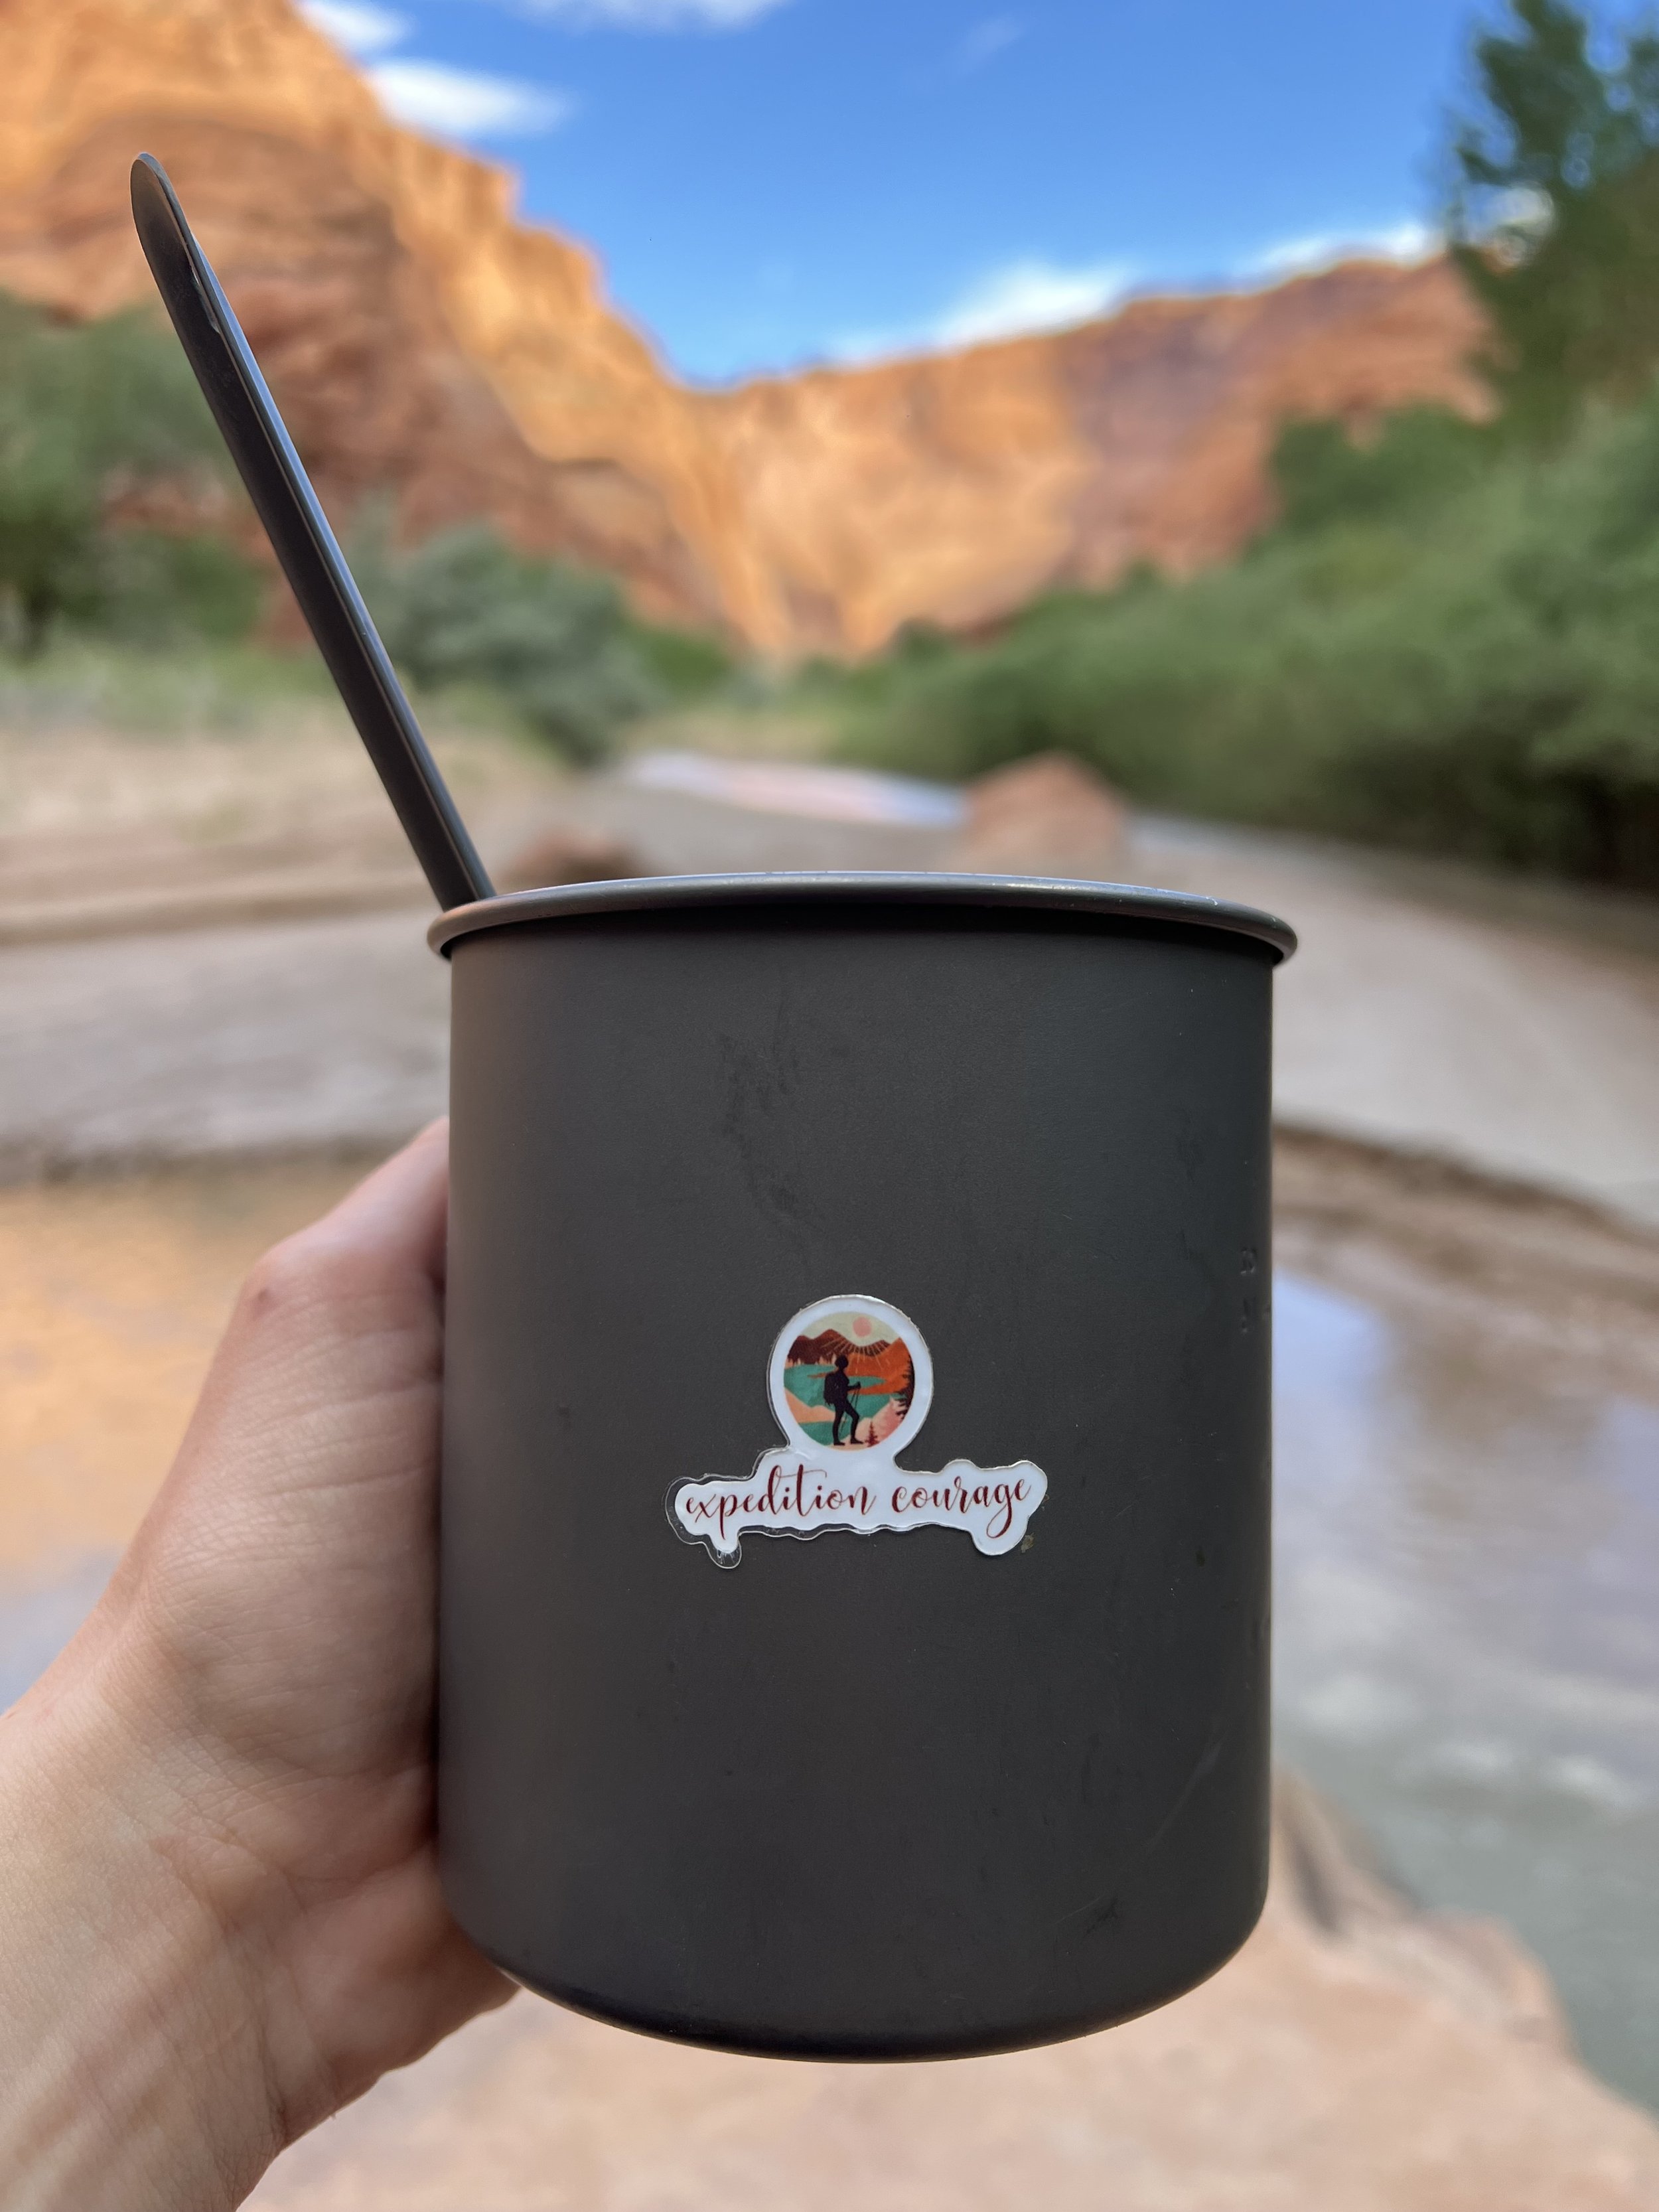
Kitchen & Cooking- MSR Pocket Rocket, Titanium mug, Titanium spoon & ratsack. This is all you need for an efficient solo backpacking set up. I cook all my meals in the mug and then eat out of it, clean it and boil my water for tea in it too. Efficiency is the name of the game here! Don’t forget the ratsack because those critters will absolutely chew through your food bag.
ICE- Make sure you bring a First-Aid-Kit and a Garmin InReach so you are prepared for anything.

If you are looking for an in-depth backpacking checklist subscribe to our website and we will send you a free downloadable list you can use for all your camping adventures!
Happy Trails ! x Dee